
How to Regrow Six Popular Foods From Your Kitchen Scraps
40% of food in the U.S. is never actually eaten. It’s either left in the field to rot because it doesn’t look “perfect” or thrown in a landfill.
Americans throw away 27 million tons of food every year. That’s $144 billion (yes, billion with a “B”) every single year.
And nearly half of this food waste happens at home.
On top of that, 20% of all greenhouse gasses come from the agricultural industry (1).
You may be familiar with some efforts to reduce food waste like donating and composting food. But have you explored the idea of actually regrowing food from your own kitchen scraps?
This is a super simple and practical way to cut food waste, reduce emissions, and save money.
If you’re thinking, “I’d like to try that, but I’ll probably fail. I am not known for having a green thumb.” Don’t worry! It’s actually easier than you think. Plus, if it doesn’t work out – no harm no foul, since you were going to throw the scraps away anyways.
To get you started, here are six foods that are super simple to regrow from kitchen scraps.
Green Onions
Green onions (a.k.a spring onions) are great for zesting up so many dishes — soups, stir fry, salad, frittata, wraps, noodles... you name it. You can regrow them completely inside, and they only need about 10 days to mature.
Instead of throwing away the white root base of the onion:
Cut the white base about 1.5 inches from the roots.
Drop the base in a cup of water root side down. Use enough water to cover about 1 inch of the white base.
Place the cup on a sunny windowsill. Change the water about every other day.
Within days, you will notice the green stems growing (2)!
BONUS: This same process works for regrowing leeks and scallions too! Who knew it was so easy to regrow vegetables in water?

Fennel
Fennel makes for a delicious side dish, raw or roasted. Fennel adds flavor and volume to soup and acts as a great go-to garnish. It’s another easy grow vegetable, and the regrowth steps are a lot like the steps listed above for green onions.
Fennel can regrow completely inside, or it can be transferred to soil for further growth:
Cut the white bulb about 1.5 inches from the base.
Drop the base in a bowl of water, root side down. Use enough water to cover about 1 inch of the white base.
Place the bowl on a sunny windowsill. Change the water every few days.
In just a few days, you’ll notice green shoots regrowing.
Once new roots start to grow from the bottom of the base, you can choose to leave it in the water to regrow (which will continue to work) or transfer it to soil (2).
It’s fun and rewarding to watch these sprout so quickly.

Bean Sprouts
If you’ve ever had Pho, you know that mung bean sprouts are awesome for adding crisp texture to soups. They also add more volume and nutritional value to meals like sandwiches, wraps, avocado toast, and more. Plus… they’re so easy to regrow.
Here are the steps to regrow bean sprouts, completely indoors:
Soak one tablespoon of beans in water overnight.
In the morning, drain the water and put the beans in a bowl. Cover the bowl with a towel.
Rinse the beans every day. Within a few days, you will see them begin to sprout.
Let the bean sprouts grow to your desired size (2).
Now you have a tasty, textured, and healthy addition for your next recipe.

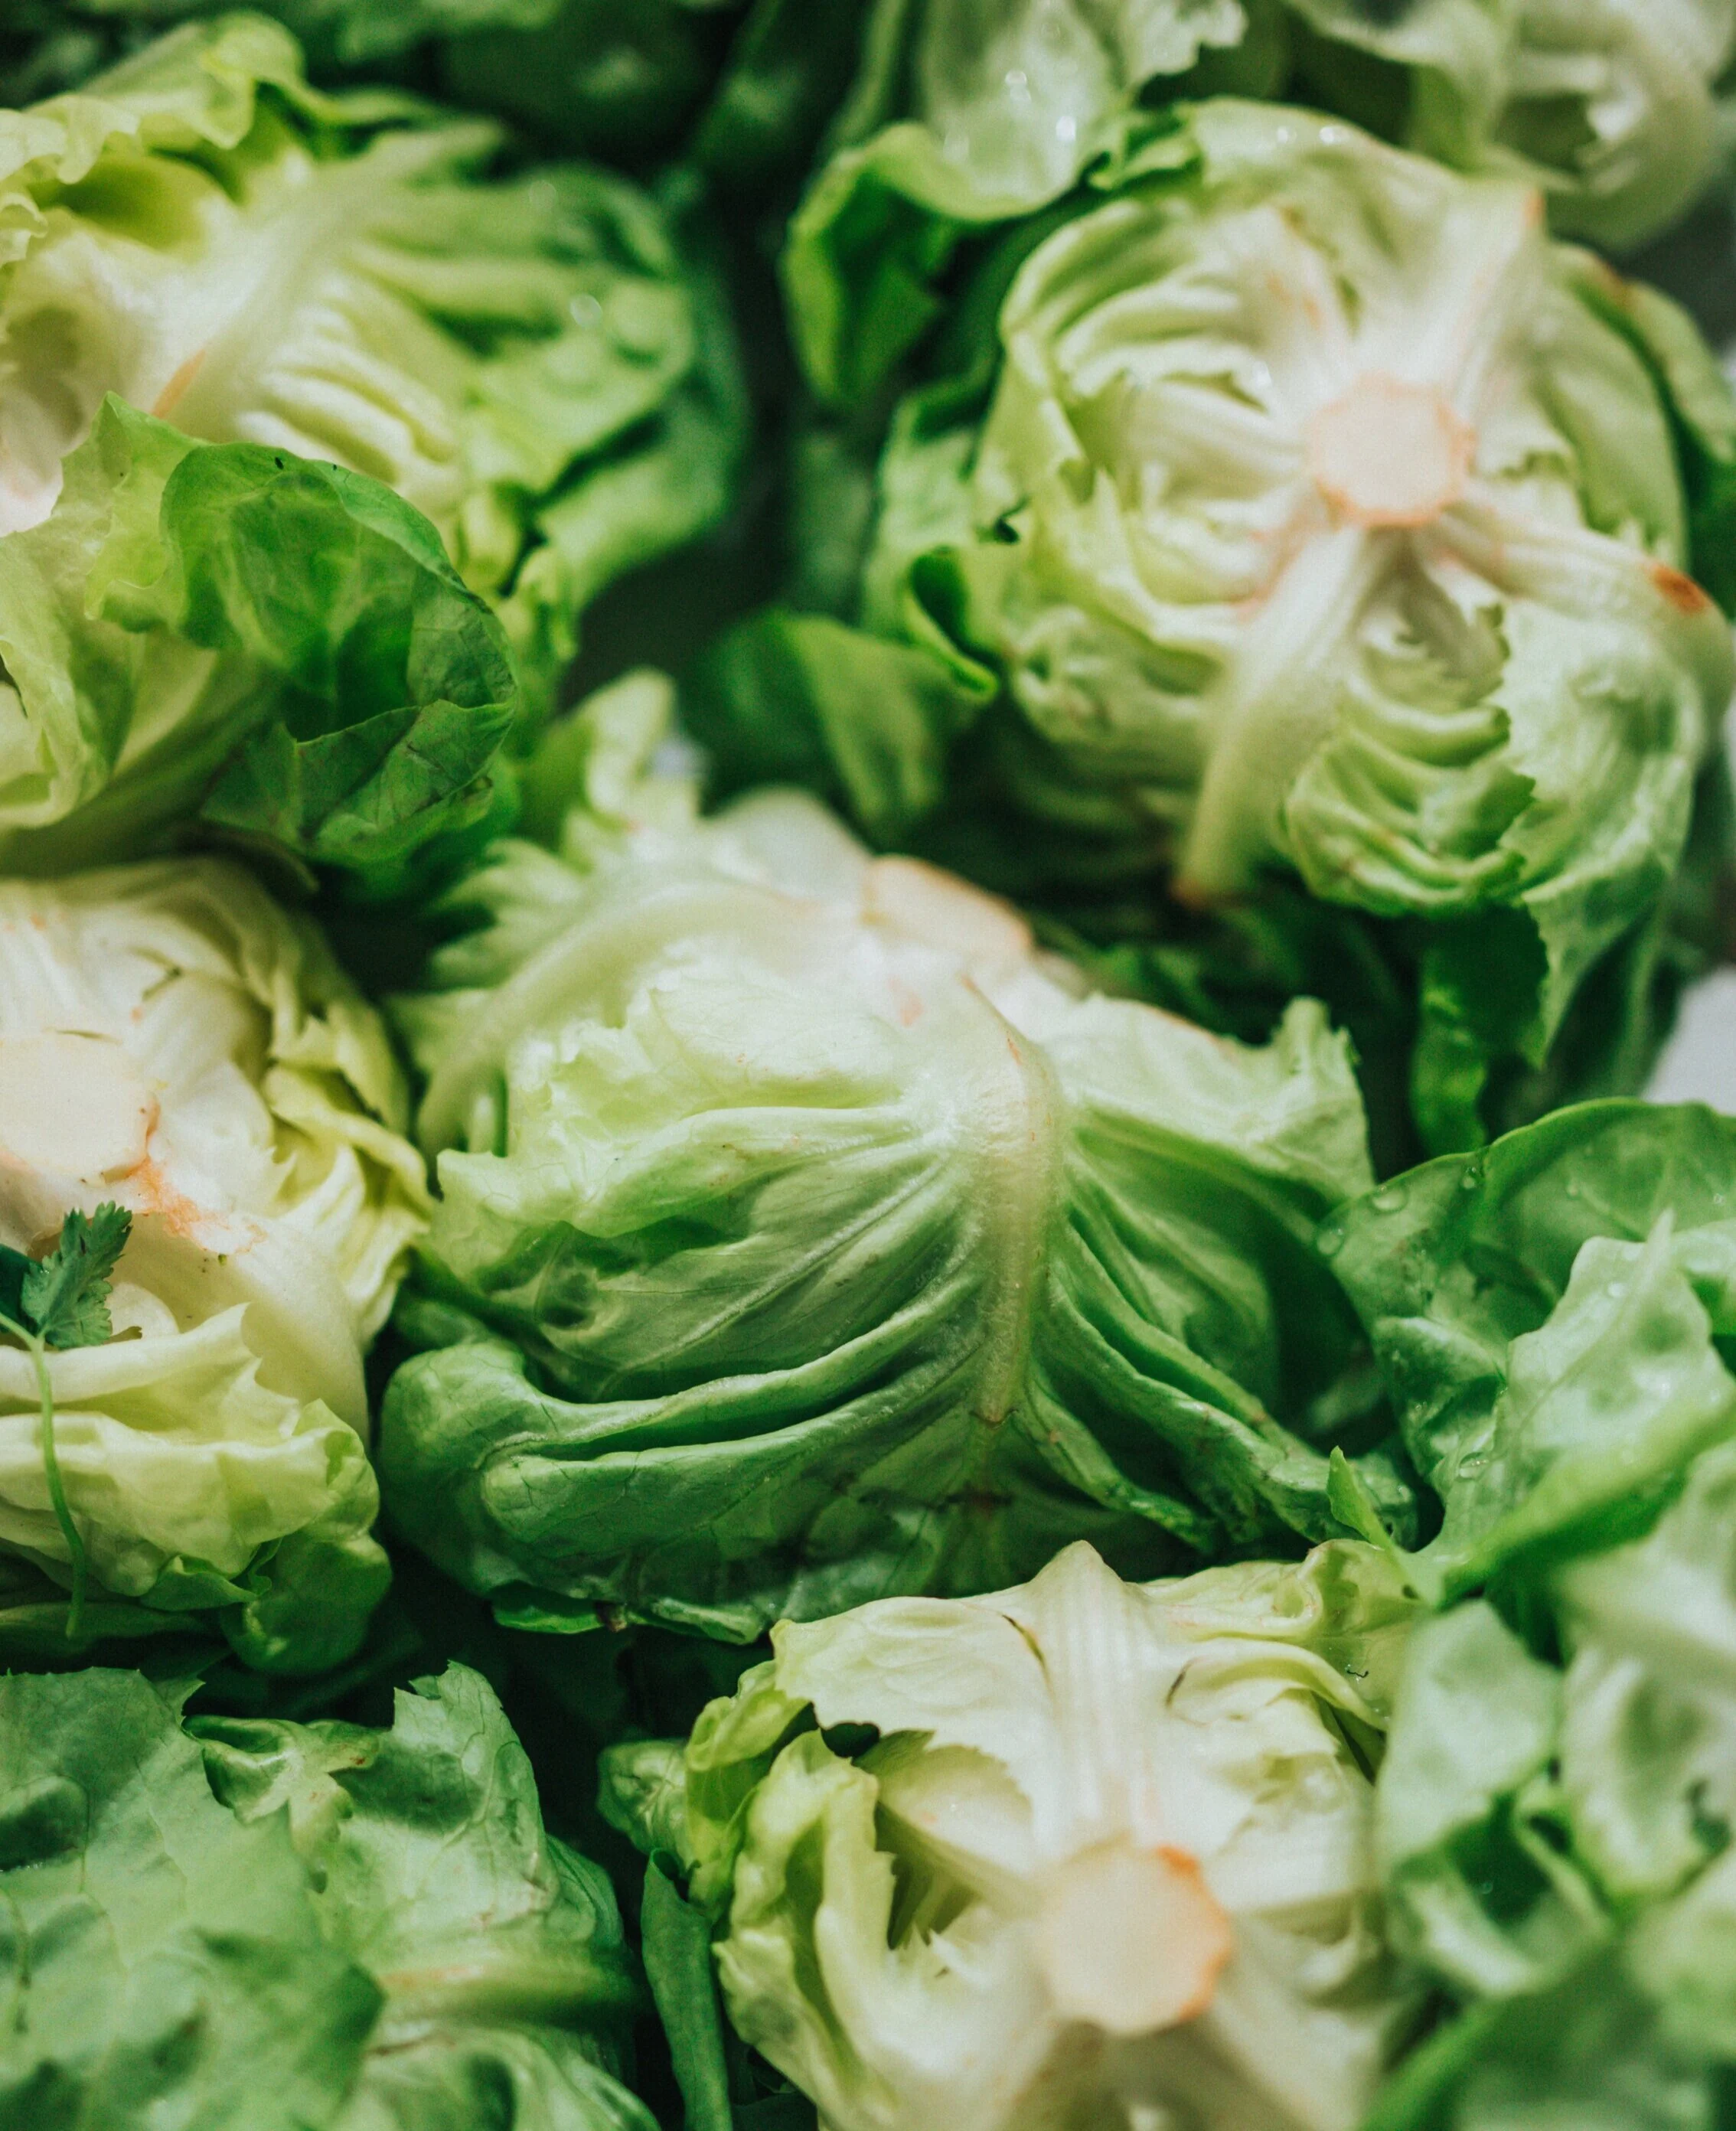
Romaine Lettuce
Are you tired of spending a lot of money on lettuce in the grocery store? Romaine calm! Green leaf lettuces like romaine and iceberg are easy to regrow from kitchen scraps.
Romaine prefers cooler climates (60-65°F) and rich soil. But it can handle a few warm days (80-85°F) as long as the nights are cool. Romaine typically takes 55-65 days to mature if you water regularly.
Cut a couple of inches from the base of the lettuce, that you’d normally throw away.
Place the base in a half-inch of water, bottom facing down.
Set it in a window sill, so that it gets light but not too much heat. Change water every 1-2 days.
Within 10-14 days, you should see some roots forming at the bottom, and some leafy sprouts at the top. Don’t worry if the base looks brownish.
Once you see these roots, transfer it to soil for more nutrients.
If you want to keep growing the romaine over and over, harvest it by cutting the head right above the soil line. This way, you leave the base and root system in the soil to continue growing. Otherwise, you can just uproot the entire plant (3).
Celery
If you’re one of those people who doesn’t love celery, I’m sure you can still appreciate its many uses: a celery juice vitamin boost, a vehicle for Ranch Dressing, a stirrer for your Bloody Mary, the list goes on and on... it’s easy to see that celery is a versatile veggie!
Growing celery is generally considered a challenge in gardening. It thrives in moist, rich soil that gets six hours of sunlight per day. Celery takes about four months to grow, and it grows best in 60-70°F weather and areas that have four months of cool weather.
Here are the regrowth steps:
Rinse off the base and place it in a bowl of warm water (enough to cover the base), stalks facing upright.
Place the bowl on a sunny windowsill.
Leave the bowl in this place for 5-7 days, changing the water every other day. Use a spray bottle to mist the plant every other day too. You’ll notice the leaves around the base grow thicker.
After 5-7 days, transfer the celery to a pot or garden and cover the base with soil. Leave the leaf tips uncovered.
Water regularly… celery doesn’t like to be dry (4).
And just like that you have plenty of this versatile veggie!

Pineapple
Full disclosure: regrowing a pineapple can take up to two years! Hopefully, this doesn’t discourage you but gives you a new appreciation for this fruit the next time you pick one up from the grocery store.
Pineapples thrive in warmer weather around 60-85°F and love humid climates. That being said, the steps for regrowing a pineapple are very simple but take a lot of patience and specific conditions:
Remove the top (leafy part) of the pineapple. The best way to do it is by twisting the top while applying some downward pressure. Once you feel the top start to loosen, twist it off.
Remove any excess fruit around the base (where the green leaves sprout from).
Pineapple tops that have greener leaves tend to have more success with regrowth!
Poke 3-4 toothpicks into the base to suspend it over a glass container.
Add water to the container until the base of the pineapple top is covered.
Place the container in a sunny area and change the water every few days.
After about a week, you should see roots begin to form. The green leaves of the pineapple should be bigger and wider too.
Once the roots grow to about ¼ inch, plant the pineapple in a planter or garden. Make sure the pineapple is getting sunlight and water regularly (5).
Imagine the satisfaction you’ll feel when you harvest this delicious fruit over a year later… they’re worth the wait!

Re-Think and Re-Grow
From easy grow vegetables to stubborn fruit, it’s clear that some of these foods are faster and easier to grow than others. After all, not all plants are created equal.
That being said, all of the regrowth steps are still super simple. And when the alternative is throwing these parts in the trash… regrowing them is definitely worth a try. So, next time you head to the trashcan to throw out some scraps, see if you can regrow them instead.
You can also check out Save the Food for more resources and tips about reducing food waste in your home today.
Sources: